Blackberries grown at home can produce a larger and tastier crop than wild versions. You’ll find they’re cheaper than the shop-bought packs too.
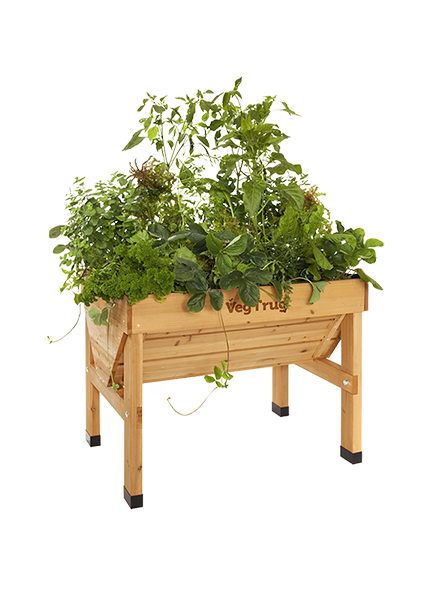
Most often you’ll find blackberries running along a fence but if you’re growing in a VegTrug, or other container, you can find smaller varieties that are perfect.
Read more on how to grow blackberries below.
Blackberries are usually bought as container-grown plants. A single plant can be incredibly productive, but if you decide to plant more make sure they have plenty of room. Spacing depends on the vigour of the cultivar, ranging from 2.5m (8ft) to 4.5m (13ft) apart. When planting, cover the rootball with about 8cm (3in) of soil.
Blackberries can tolerate light shade, but they will be more productive in a sunny, sheltered site. They prefer moisture-retentive, but free-draining soil.
If you have chalky, sandy, or heavy clay soil, improve it with plenty of bulky organic matter at roughly two bucketfuls per square m before planting.
Vigorous cultivars need a sturdy support system. Use a wall or fence, 1.5-2m (5ft - 6ft 6in) high, with horizontal wires spaced 45cm (18in) apart, with the lowest wire 23cm (9in) from the ground. Alternatively, run the wires between two strong vertical posts.
After planting, cut down all canes to a healthy bud. This may seem drastic, but it will ensure plants throw up lots of vigorous, healthy shoots in spring.
The good news is, that once you know how to grow blackberries you’ll be rewarded with a bumper crop.
Top-dress blackberries with 100g per sq m (4oz per sq yard) of general-purpose fertiliser in mid-spring and cover with a 7cm (3in) organic mulch annually. Make sure the mulch is placed 5cm (2in) away from the new canes and the crown to prevent rotting.
Water young plants every 7-10 days during dry spells. While mature plants shouldn’t need extra watering, their fruit size will benefit from watering every 10-14 days if the summer is particularly dry.
Blackberries are vigorous and need regular pruning and training. Regularly tie in the shoots of newly-planted canes. Once these reach their first winter, cut back all side-shoots produced on these main canes to 5cm (2in). It is mainly from the resulting fruiting spurs that flowers are formed.
In the second year after planting the crown will throw up new canes from ground level. Loosely bundle these together; insert four bamboo canes in a square vertically around the crown and pull the new canes into the centre; then tie some sturdy twine around the square to hold the new canes in place.
Remove the one-year-old canes once they have fruited by pruning them into shorter sections with loppers, then extracting them carefully to prevent their thorns snagging on new canes. Then untie the twine around the new canes and train them along the wires.
Birds, disease and mites are all things that you’ll need to consider when learning how to grow blackberries.
Birds, in particular pigeons, love the fruit from blackberries but netting can be effective in preventing your crop being eaten.
Red Berry or Blackberry mites are microscopic bugs that feed on blackberries and cause the fruit to ripen unevenly. You can cut away the affected foliage in the more extreme invasions, even cutting the cane to ground level, but in general there’s not a lot more that can be done.
Aphids, raspberry beetle and fruit flies are among the other pests that will feed on berries. Introducing natural predators can help organically control these pests.
Raspberry cane and leaf spot, and the less serious purple blotch are diseases that have similar symptoms. Purple blotches will appear on stems although with raspberry cane the blotches will form shallow holes on the stems that have purpley-brown edges and grey centres. Purple blotch legions form near ground level and begin dark green before turning a reddy colour.
You should cut away any affected stems to help control the diseases.
As soon as your blackberries are ripe, pick and use them fresh, freeze them or create a tasty conserve.
How to grow blackberries is part of the VegTrug Grower’s Guide.

